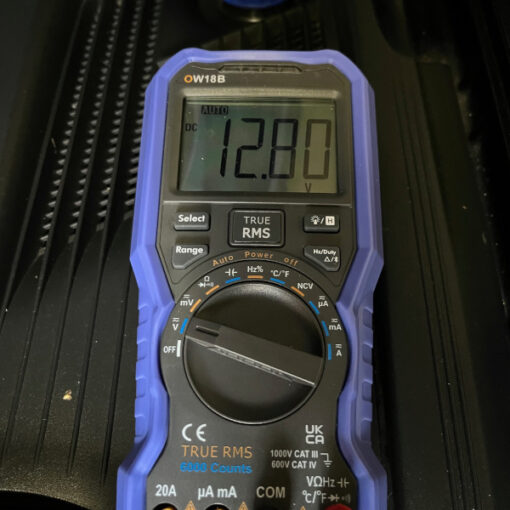
A common complaint about the 997-generation 911 is the amount of road noise that enters the cabin, especially with 19″ wheels and on roads of poor quality. At 100 kph, I measure approx. 78 dB using the NIOSH SLM app on my phone, which is more than 10 dB higher than in my Mercedes E-class. Cue the comments like “then you shouldn’t have bought a sports car!”, but I think there’s a difference between noise that you want (engine noise) and excessive road noise that is pretty tiring on road trips.
There are two components to reducing noise levels in cars:
- Vibration dampening by adding a material to resonating panels that amplify noise, thus changing the frequency response. This is also frequently done to improve audio quality and removing droning bass frequencies, another issue with the 997 and its door-mounted woofers. This does not require full coverage of a panel.
- True sound insulation, which consists of closed-cell foam (CCF) and mass-loaded vinyl (MLV). This requires full coverage including closed seams, as otherwise sound will leak through.
I did some research, mostly on Rennlist, and decided that the first step should be adding vibration dampening to the door panel that holds de woofer, door airbag, and window motor. This is a rather flimsy metal panel that has no dampening material from the factory. I bought a Dynamat Extreme door kit, which consists of four sheets of 30x90cm.
Getting to the panel requires removal of the door panel. There’s a detailed explanation including pictures on Rennlist. I bought some extra door clips on Amazon just in case. Tool-wise you’ll need some trim removal tools and long Torx keys. After removing the five Torx screws, brute force is the way to remove the clips – I’ve found it pretty much impossible to locate them and insert a trim removal tool to pop them off they way that’s supposed to work.
With the panel revealed, I first cleaned it with isopropyl alcohol, then created a cardboard template and cut out the shape using a box cutter and scissors. As the right door is a mirror image, you can use the same template by simply flipping it over.
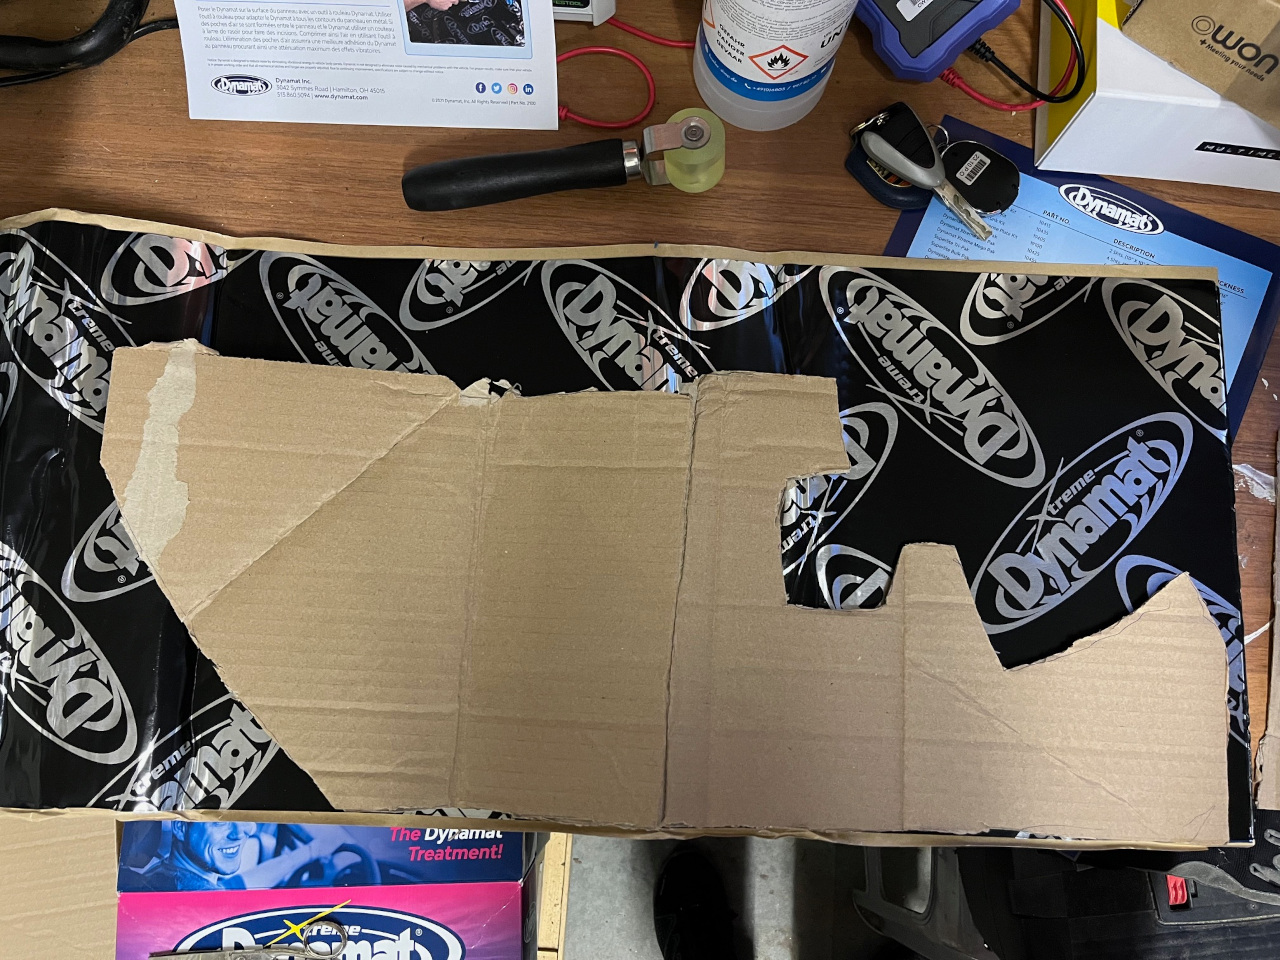
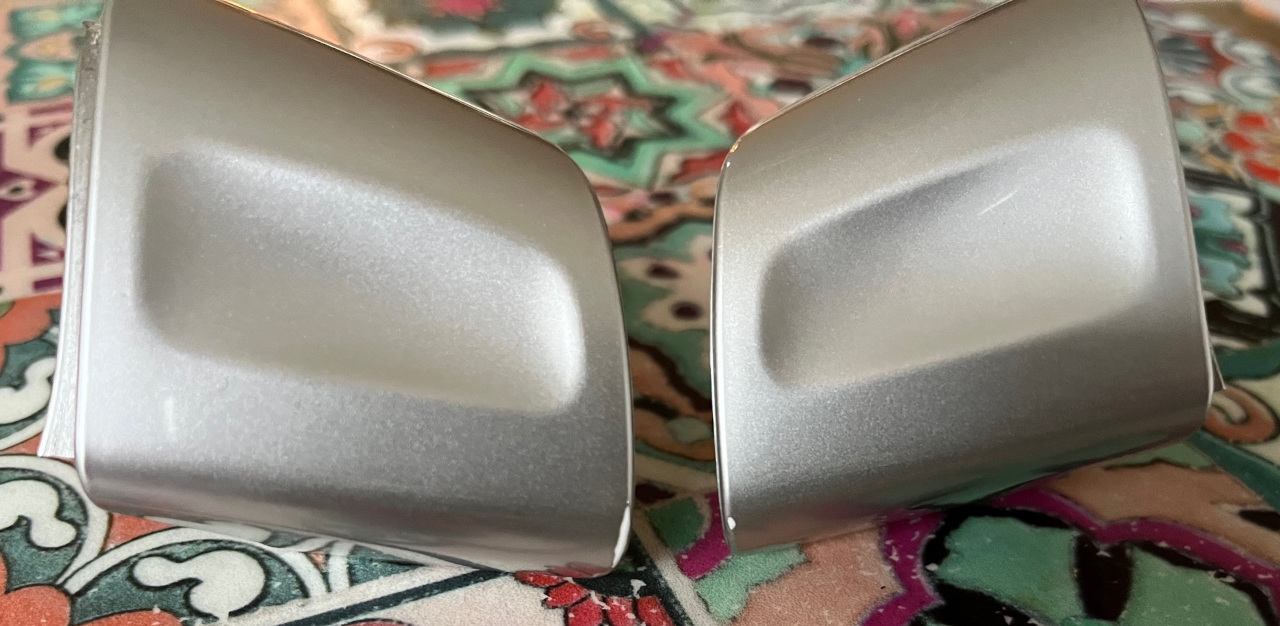
I found it the easiest to complete remove the backing paper and then stick the Dynamat onto the panel. Once the Dynamat was properly in place, I used a roller (also sourced from Amazon) all over it to get it to stick properly. In case of air pockets you can cut these. This will create small gaps in the Dynamat, but this is not an issue. This is the end result on the left:

After I had done the right door as well and had everything back in place, I noticed a rattle inside the left door, so I had to pull off everything again, and remove the dynamatted panel as well. The culprit was a loose connector for the window end sensor, which also prevented the window from going down automatically. I managed to get both halves connected again and plugged into the holding clip. Now the rattle is gone and the window rolls down automatically once again.
The droning of the speakers is reduced considerably. Previously I had to turn off Loudness when listening to podcasts, this is no longer necessary. Road noise appears to be reduced by 1 or 2 dB, the remaining noise clearly comes from the rear. Some people also apply Dynamat to the inside of the outer door panel, but I don’t think that this would add much in my case.
