Recently my BMW’s engine stalled while stopping at an intersection. It started again without issues, but I then had a traction control light and not the usual amount of power. A day later, no issues were present, but I nevertheless decided to check the error log. Luckily I have access to an OBD2 adapter and the INPA software.
The engine control unit had two error messages in its memory, numbers 83 and 244. These point to a faulty crankshaft position sensor – hence I decided to order a new one. BMW asks €130 for these, but I paid €35 online for one made by Hella, a reputable brand.
The repair manual that I have for the E39 suggests to replace the sensor from underneath. However, on a German forum it was suggested that it was possible from above, too, and that is what I did. The sensor is located on the left of the engine, below the starter motor. In order to access it, one needs to remove
- the airbox including the mass airflow meter and the hose that is connected to it – don’t forget to unplug the meter.
- the left interior air filter box.
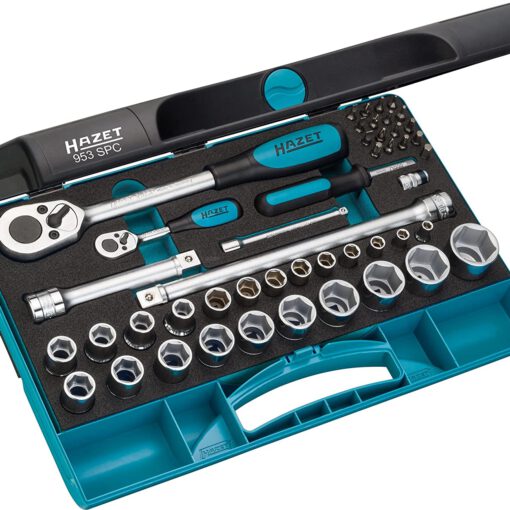
This is done quite easily. The airbox is held by a single 10mm bolt, the interior air filter box by a retaining clip (remove the lid first). The hose clamps can be loosened with a screwdriver or (my recommendation) a 6mm socket. As the engine bay is wide enough to fit a V8, there’s then plenty of space to access the sensor. It is located in the area circled red:
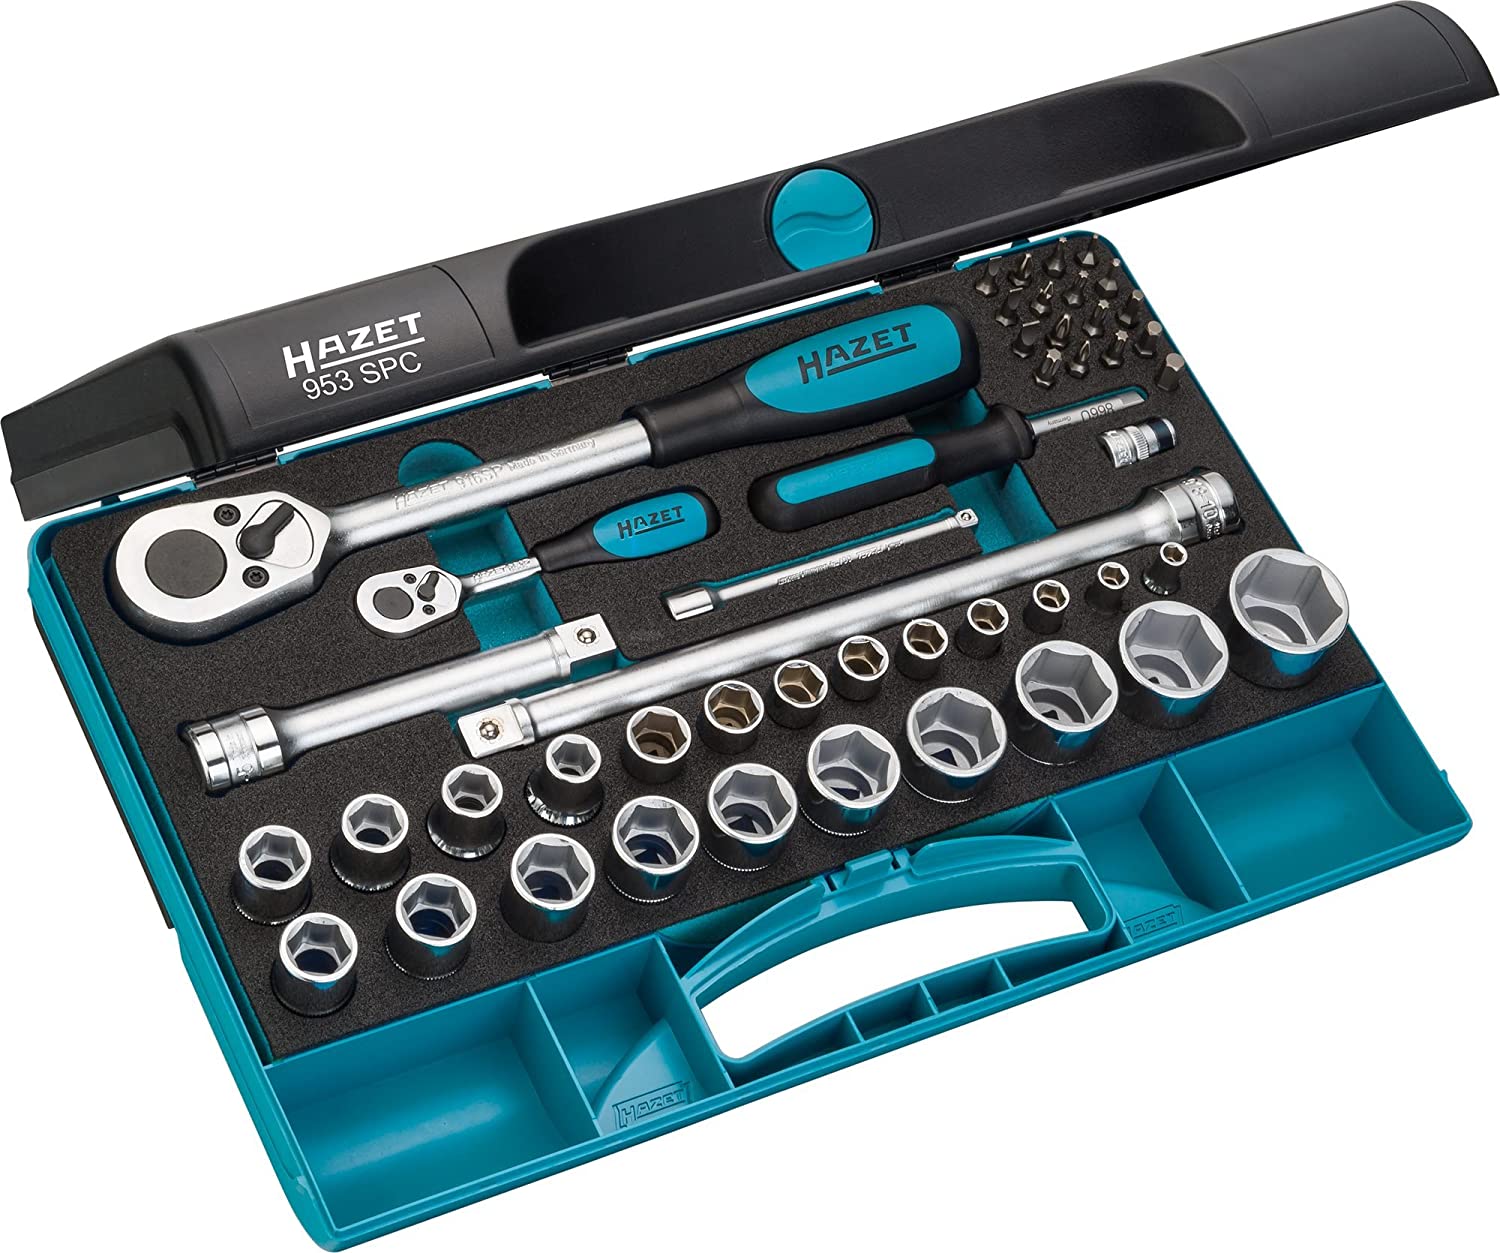
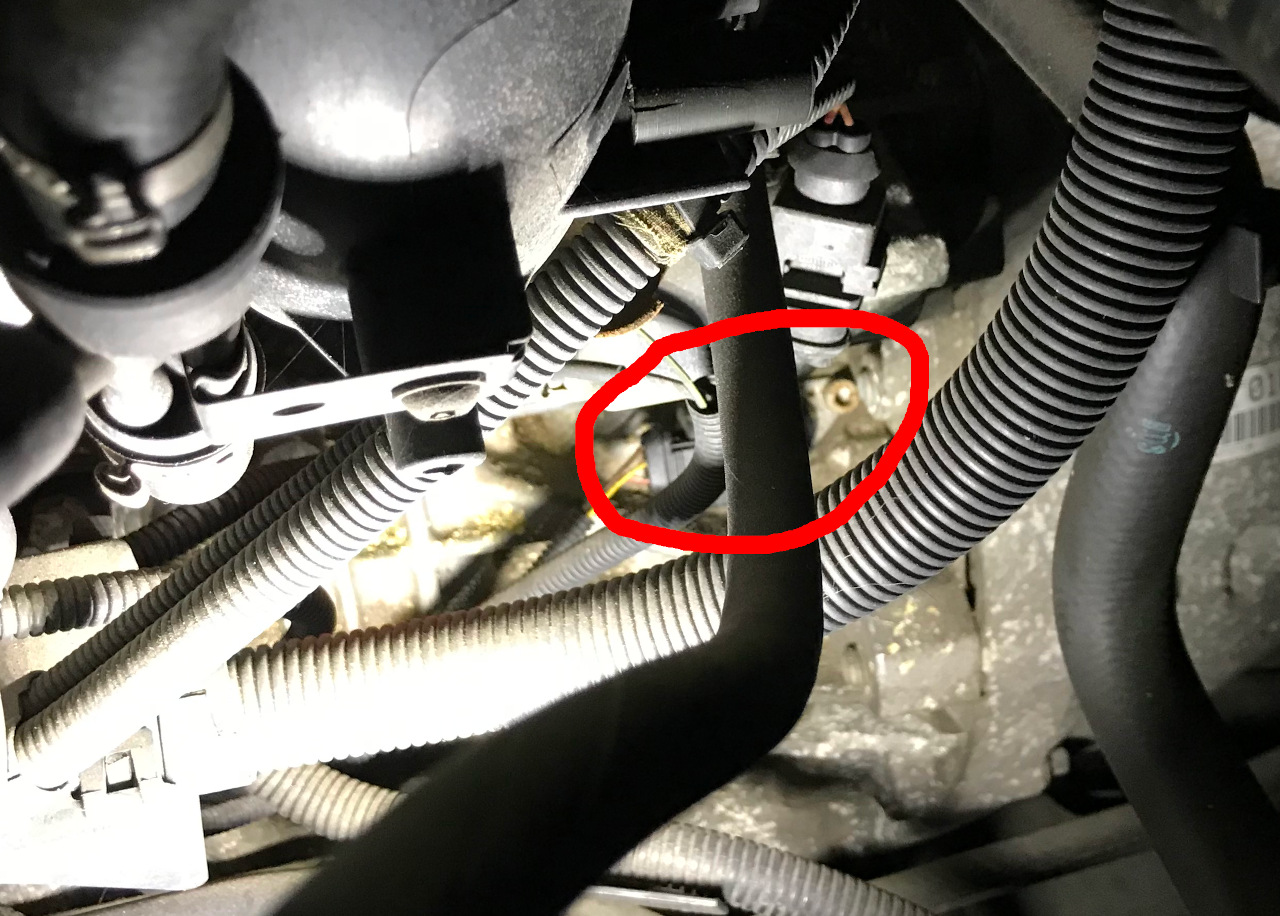 The connector can be removed by depressing the retaining clip. The sensor is held in place by a single bolt. Use a ratchet with extension and 5mm Allen (hex) bit to remove it. You can then place the new sensor, bolt it in place, and connect it.
Assembly is the reverse of disassembly. Make sure all hoses and connectors are in place before starting the engine.
