The windshield washer jets of my E39 suddenly produced only a trickle instead of a stream. Investigating the issue started with opening the bonnet and removing the damping mat. It is hold in place by a number of split pins. There are special fork-like tools for removing this, but lifting the central pin with a flathead screwdriver and then pulling everything out with needle-nosed pliers works fine.
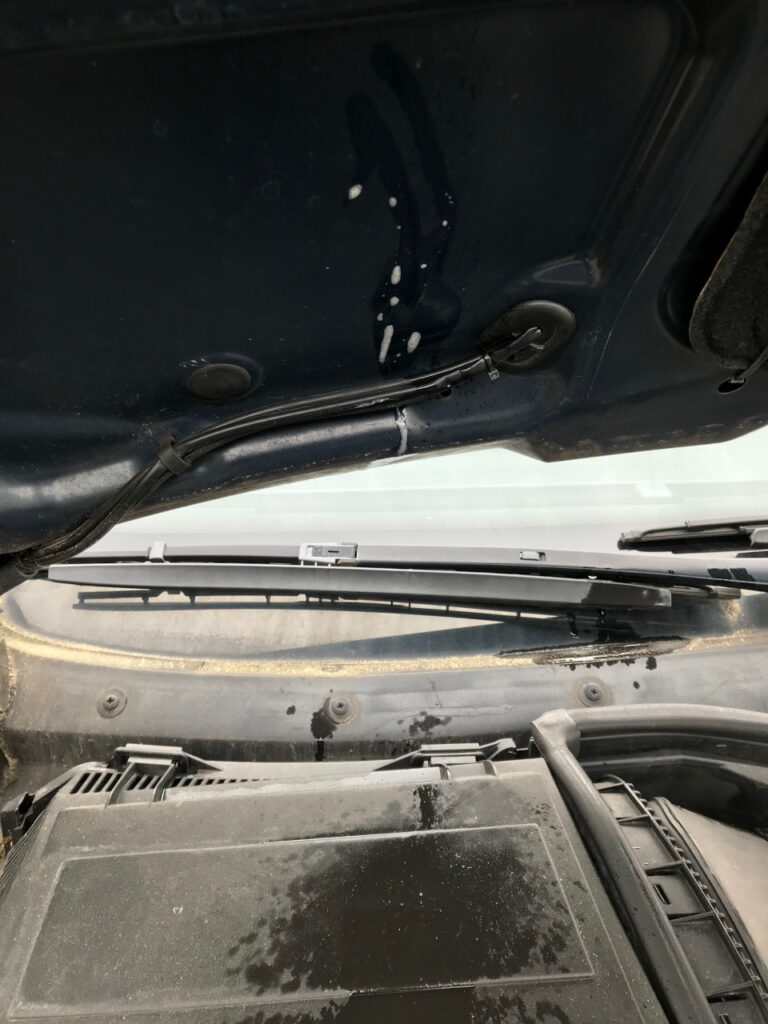
Something’s wrong here – the windshield washer fluid ends up on the inside of the bonnet.
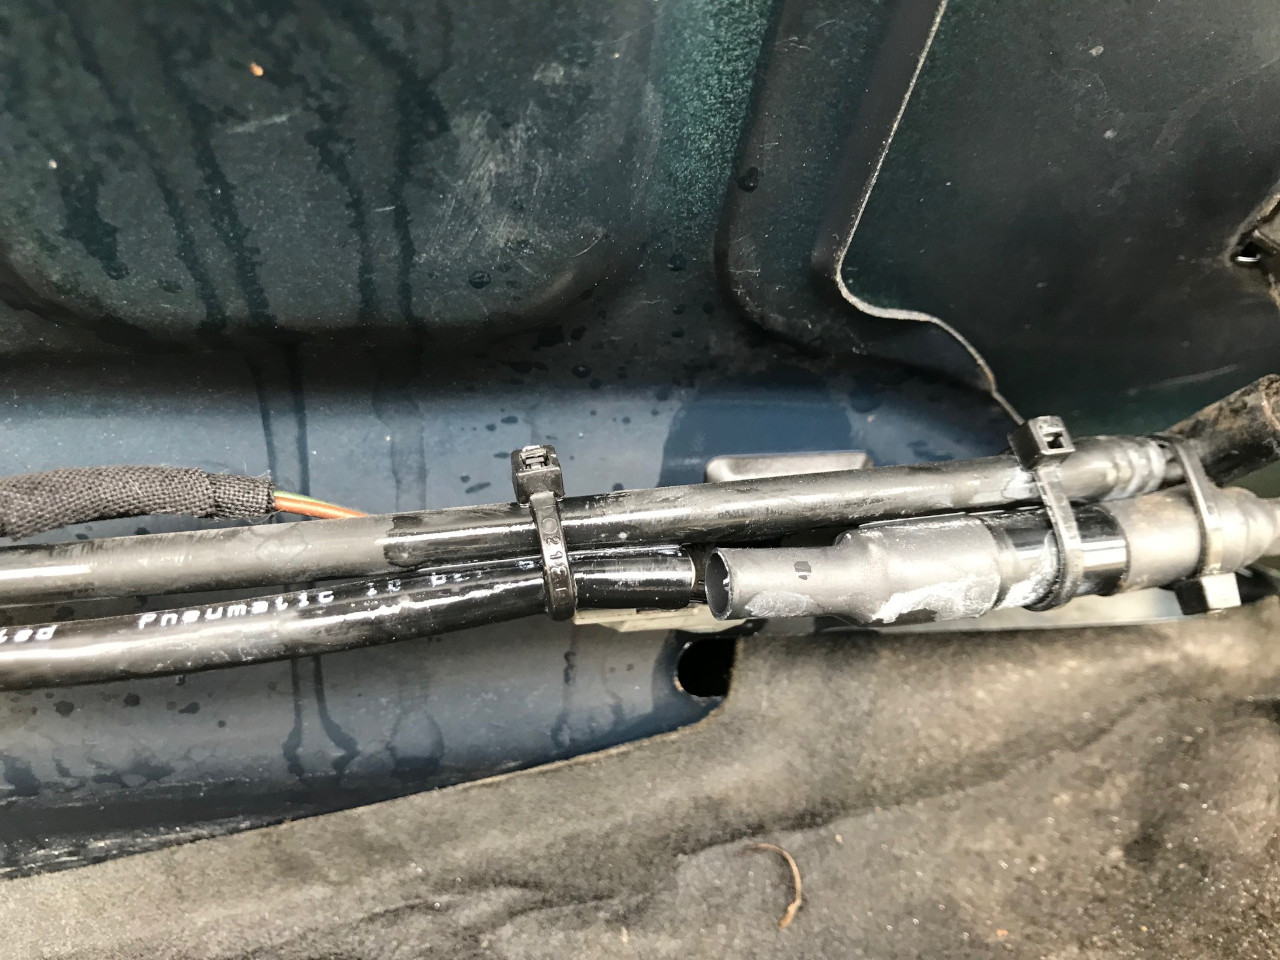
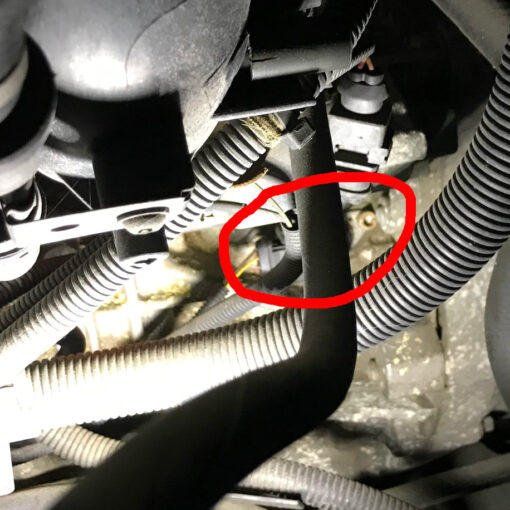
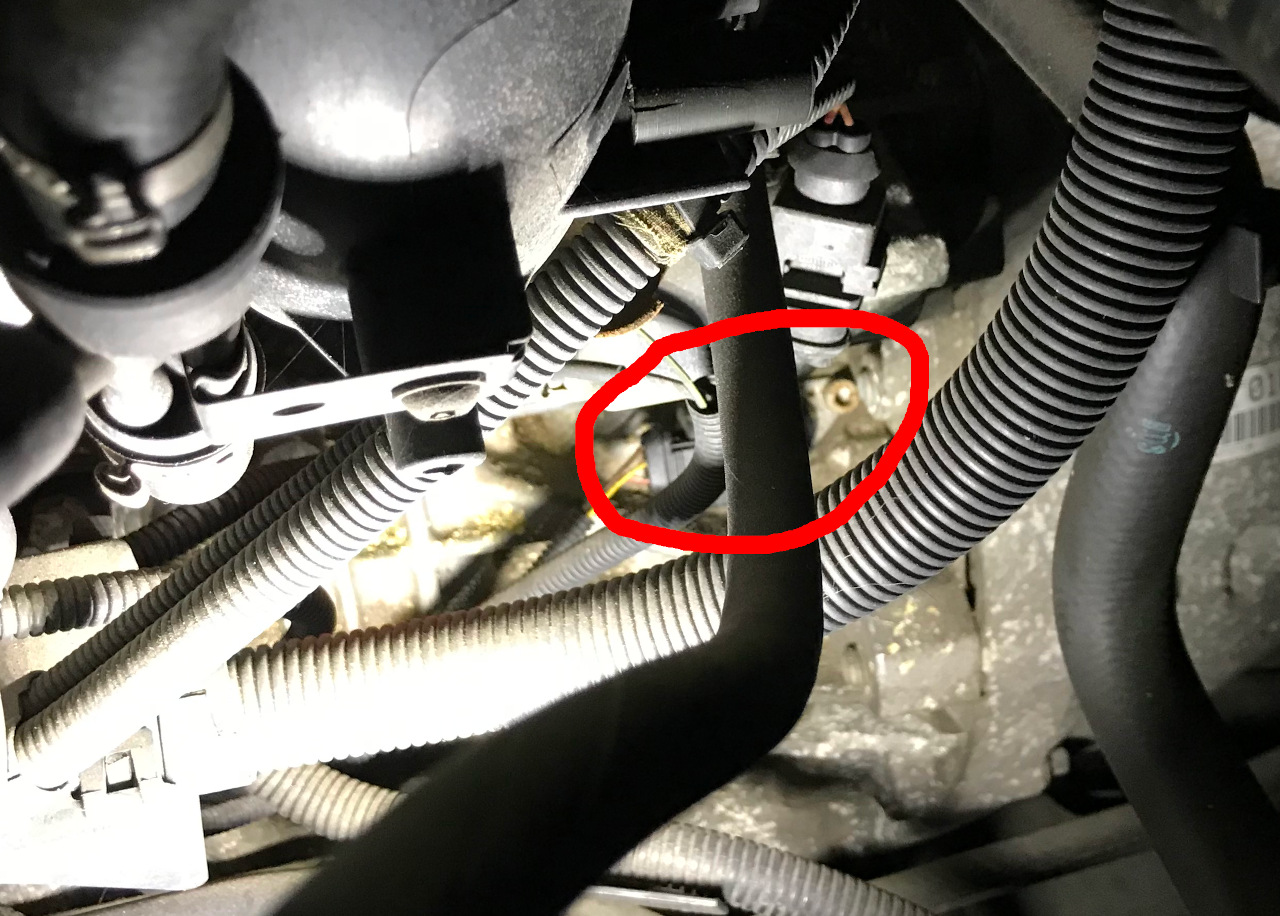
The culprit: the hose is disintegrating and actually continued to break in several places as I tried to insert it again. After almost 20 years, the hoses become brittle, a typical issue with many plastics.
The solution is a complete replacement of the hoses. These are sold by BMW as complete set, including the wiring harness for the heated nozzles. There are two different types: the standard system with a single hose, and the intensive cleaning system with two hoses and a second small reservoir in the engine bay. My car has the latter, the part number is 61608364209. There’s also another hose running down to the reservoir that is made of the same material and hence will probably also fail soon, so make sure to replace it at the same time. Here the part number is 61668361041. I ordered both from a BMW dealer, the total cost was approx. €70.
Replacing the upper hoses and wires is quite straightforward. Unplug everything (don’t forget the connectors for the heater wires), remove the clips and any tie-wraps holding the hoses in place, and remove them by pulling them through the hole in the hood (hence towards the left). Assembly is in reverse direction. Thread everything through the hole in the hood from the left and then fit the rubber boot in the hole. This is a bit fiddly, use a small flathead screwdriver. Connect everything, making sure that the hoses are connected correctly – they need quite a bit of force and should snap into the nozzles with a click. Then mount the clips to hold the hoses down and place new tie-wraps where necessary.
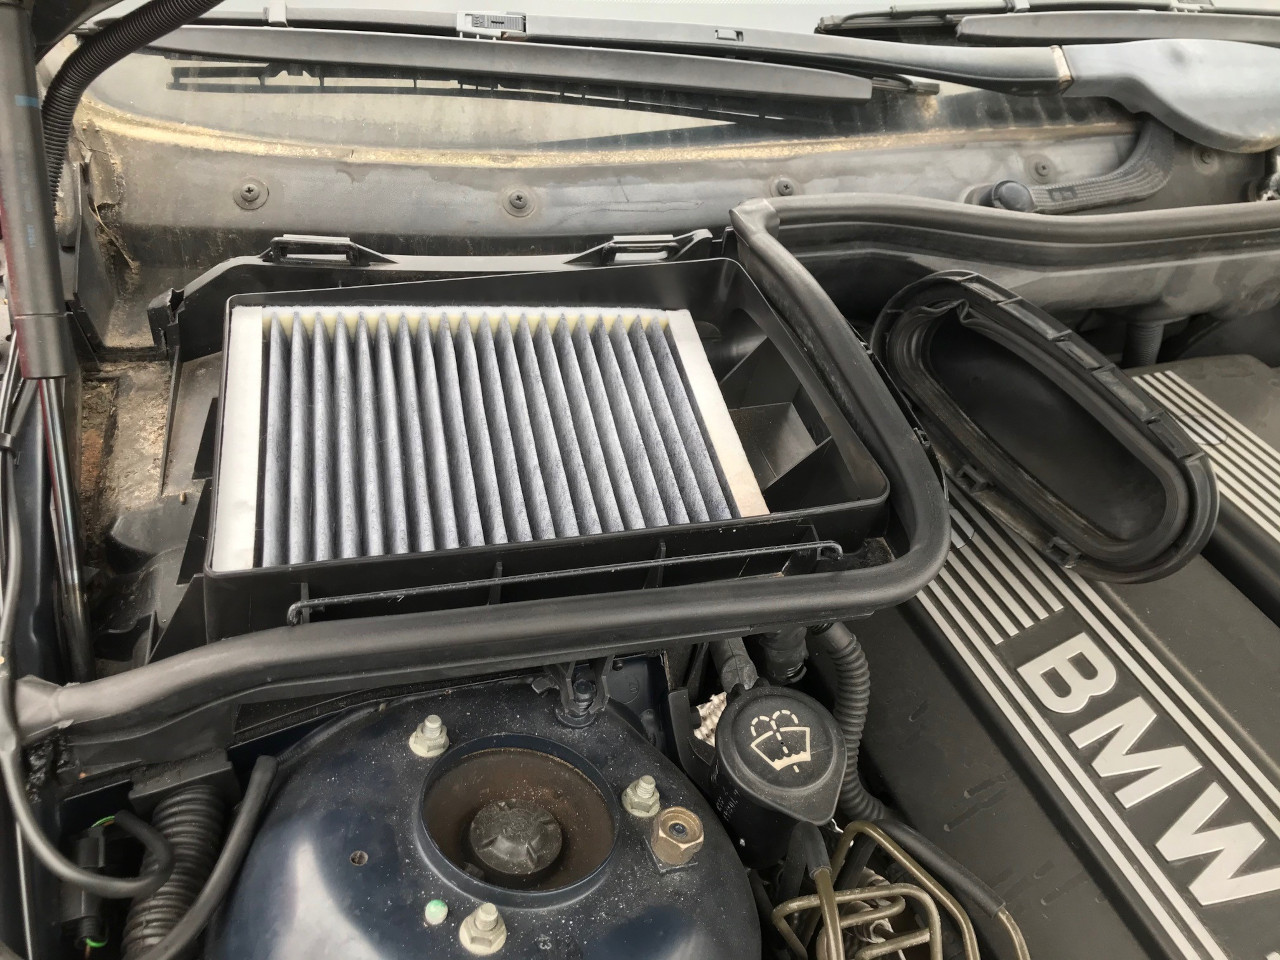
Replacing the hose to the reservoir is a bit more involved, as the reservoir is mounted behind the right front wheel. Start by removing the interior air filter housing. This requires taking off the lid, removing the air duct to the firewall (lift the hinges with a screw driver), then remove the metal clip that holds the housing to the shock tower. You can then wiggle it out.
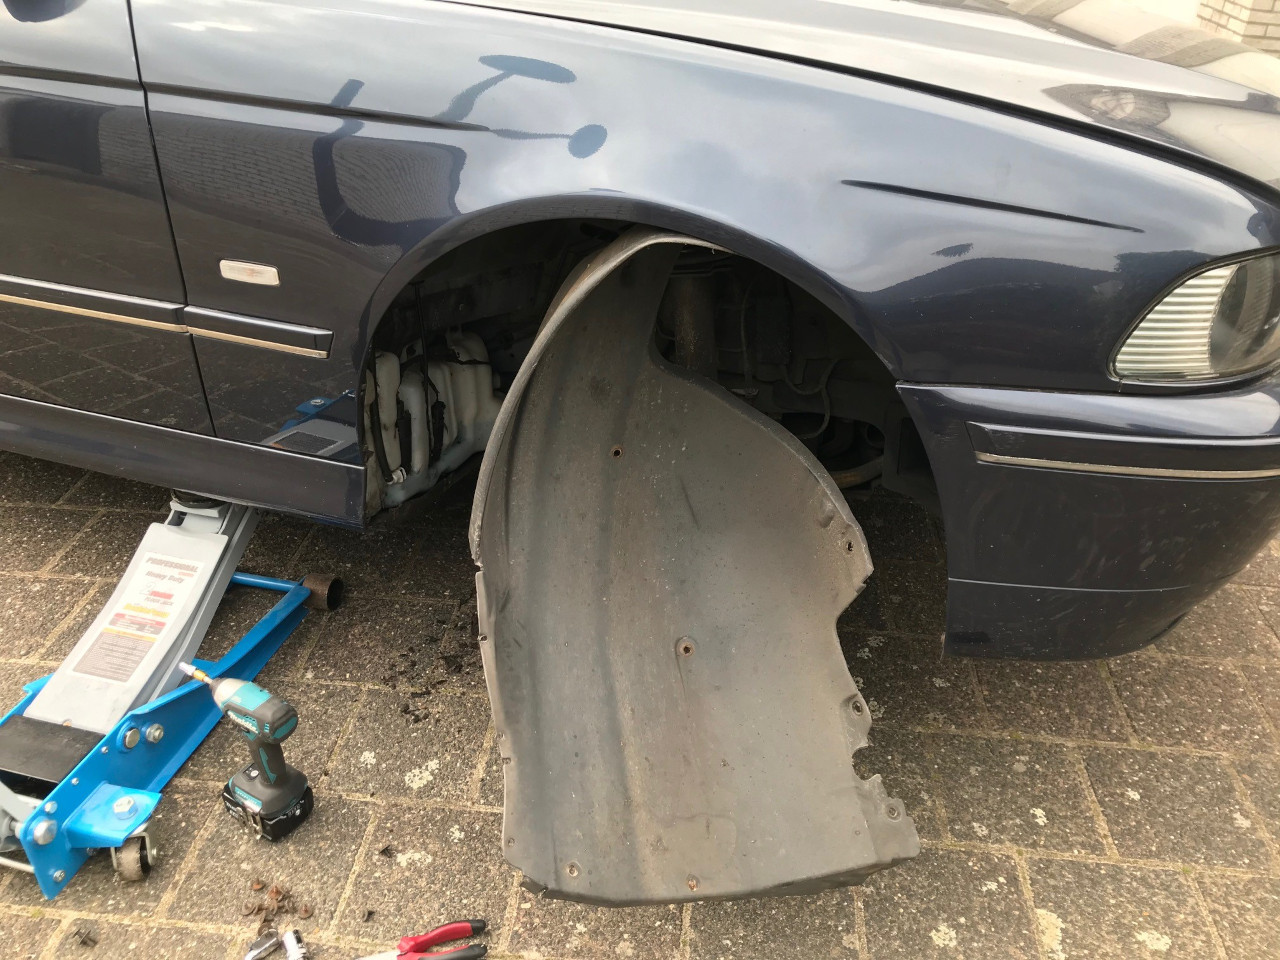
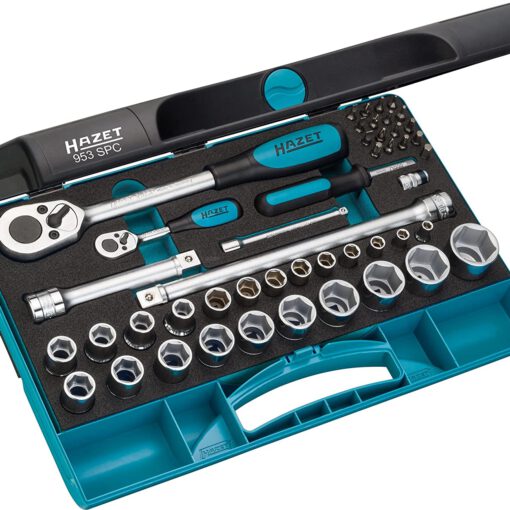
Accessing the reservoir requires removal of the inner fender and hence the wheel. The inner fender is held in place with one clip and lots of screws (8mm size). I’ve got a 1/4″ adapter for my impact driver, which, together with an 8mm socket, quickly removed all screws. Two of them are on the floor. The inner fender can then be folded out of the way, revealing the reservoir.
I dropped the hose through the hole from the top, and then gently opened the loop at the end to thread it through the hole next to the shock tower. Connect it on both sides, then test if everything is working Ok. Once this is the case and there are no more leaks, you can reassemble everything. Total time required was about one hour, so a BMW dealer would probably have charged upwards of €100 for this job, not including parts.
