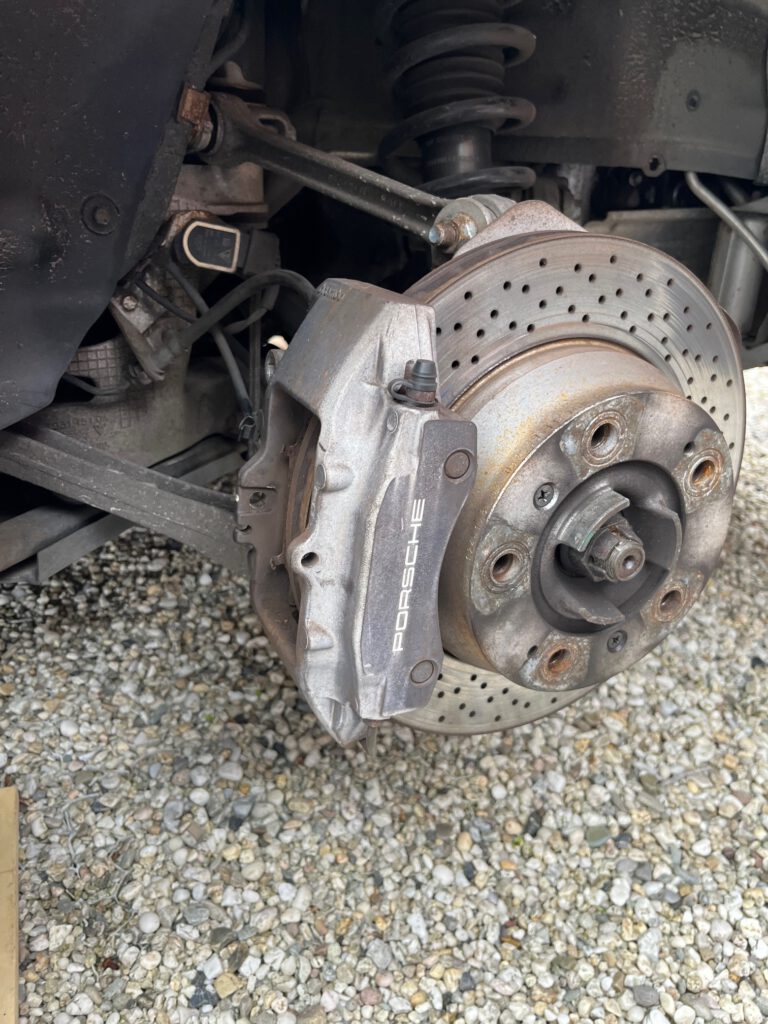
I knew already when I bought my 997 that it wouldn’t be long before the rear brakes would be due for replacement. A couple of weeks ago, the brake pad indicator came on. I measured the rear brake rotors and they were close to the threshold, too, so I started looking around for everything required to do a full pad & rotor replacement.
It’s important to know that only the pads and rotors are not enough. You’ll also need to replace the spring and pen that hold the pads in place, the vibration dampers that sit between caliper and pad, the caliper mounting bolts, and the wear sensors (technically not necessary if you replace the pads before they trigger, but they can be difficult to extract from the pads). You can buy all of these individually, but I then saw that Design 911 sell (almost) complete kits. I went for the kit with Brembo rotors and pads, and added the caliper bolts and rotor screws that are not included (actually, the rotors came with two screws, but you need four).
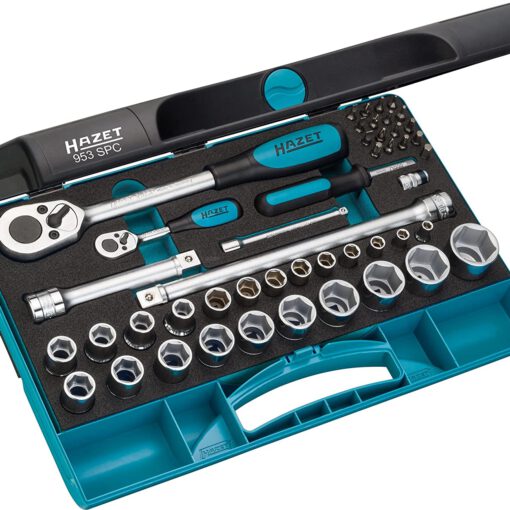
Tool-wise, there’s not much extra required than what you need for changing wheels. I bought
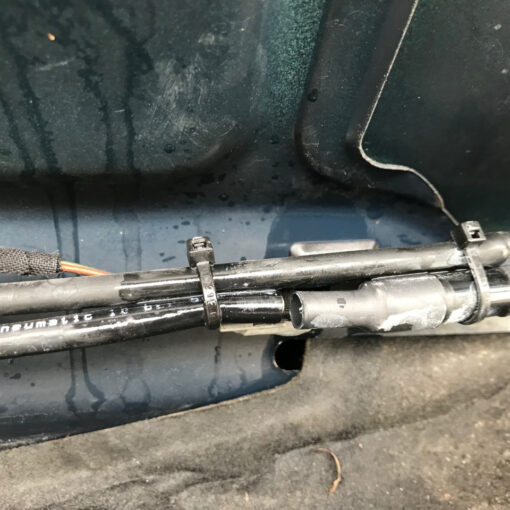
- a pump for sucking up brake fluid to avoid excess fluid from spilling out of the reservoir
- a cheap brake piston reset tool
- 1/2″ sockets for the caliper bolts. These come in 10mm hex and Torx 55 version, so I got both – a good move, as the old ones were hex and the new ones Torx
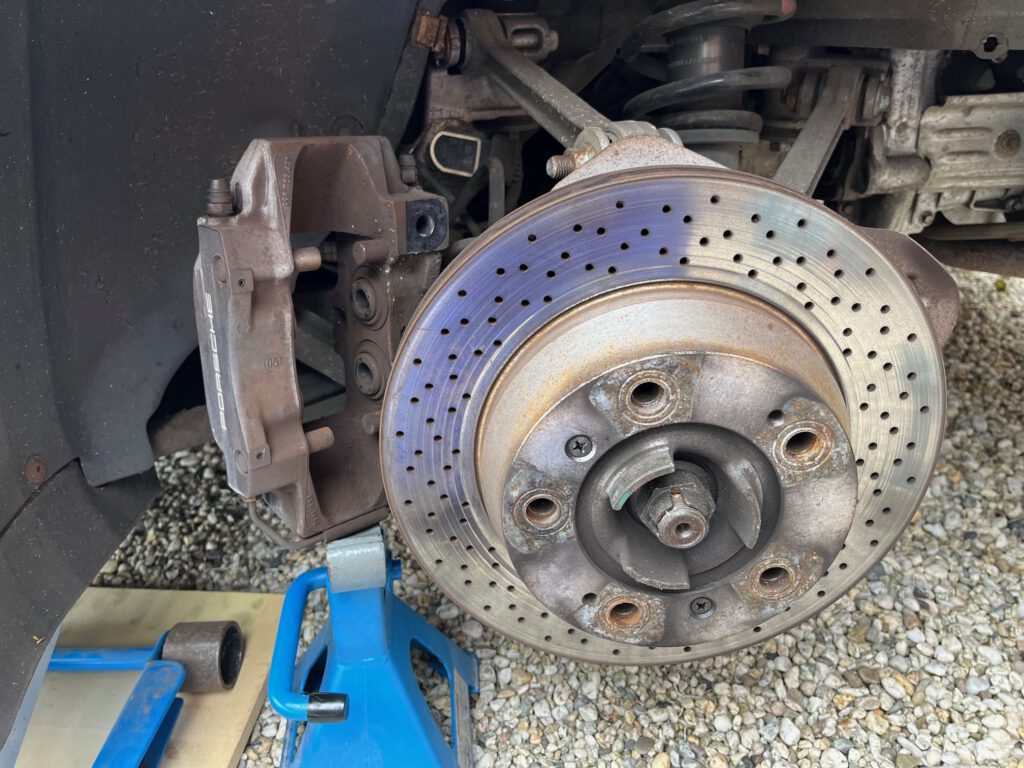
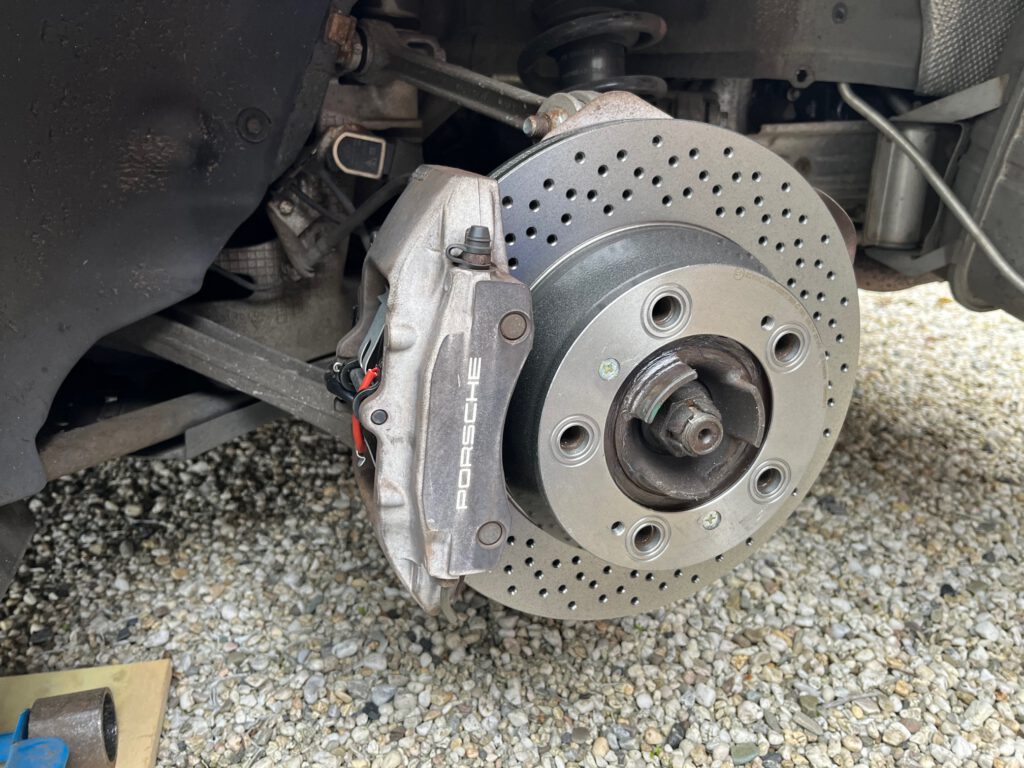
There are several videos on Youtube that explain the job step by step. Removing the brake pads is easy. All you need to to is remove the cotter pin, then tap out the pin that holds the pads in place, spread them a little with the piston spreader, and pull them out. In order to unplug the wear sensor, you need to swivel up the metal clip that holds it in place.
The caliper comes off after removal of the two bolts. As mentioned, the existing bolts needed a 10mm hex socket. Make sure to hang the caliper or rest it on something to avoid tension on the brake hose.
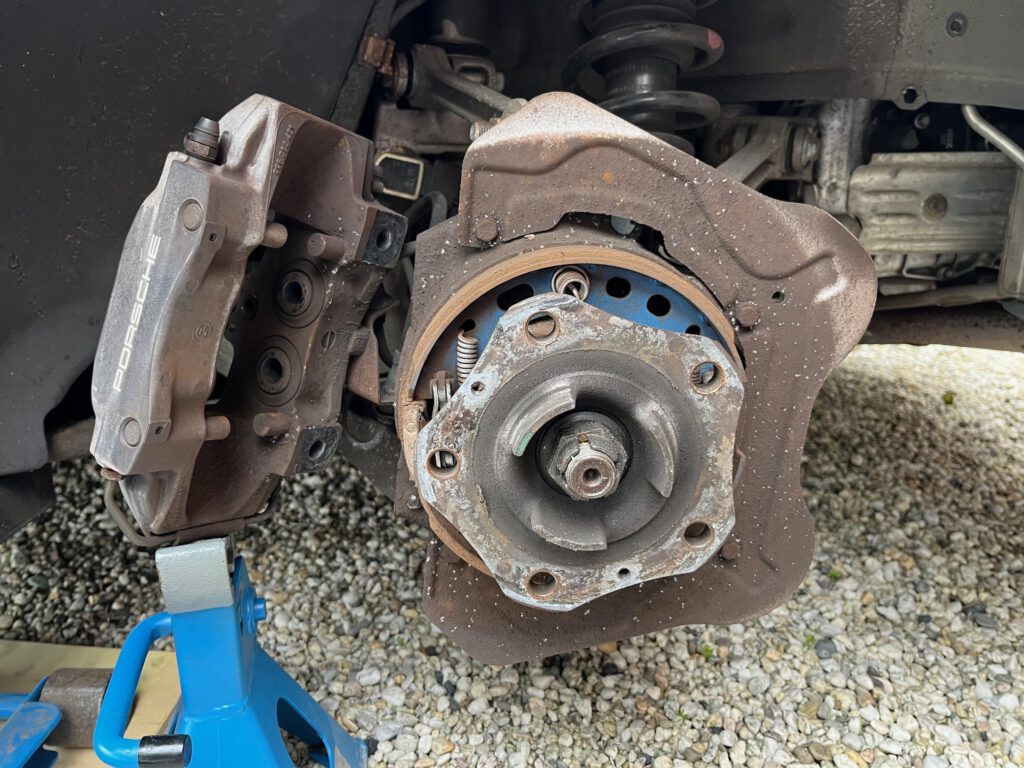
I was lucky in that the rotor screws on both sides were not rusted in place, but came out easily. The same was true for the rotors, I didn’t even need to tap them with a hammer. I cleaned the hub with a wire brush after the picture was taken.
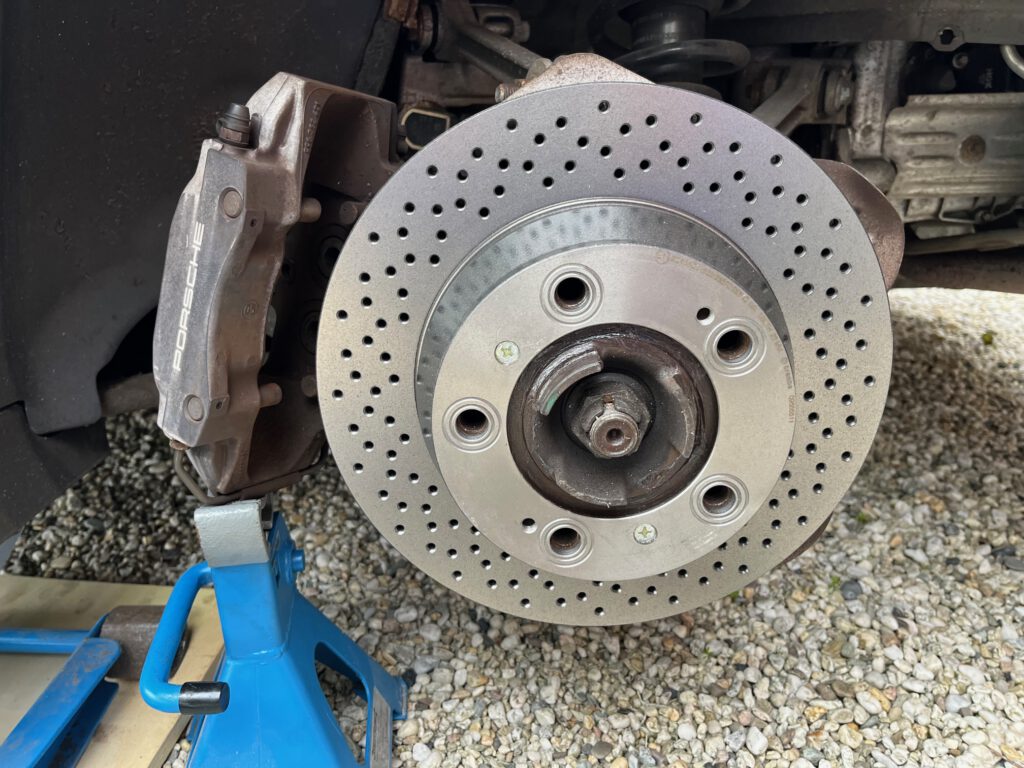
Slide the new rotor in place over the parking brake shoes. Make sure that the mounting holes are lined up correctly. I applied some Textar Cera Tec grease to the screws to hopefully prevent them from seizing up in the future.
Make sure to to fully spread the brake pistons before mounting the caliper. I also recommend placing the new vibration dampers and peel of the protective paper before mounting the caliper. The caliper bolts need to be tightened to 85 Nm of torque. Then insert the brake pads (they are the same, there’s no left or right pad) and hold down the spring while inserting the pad retaining pin from the rear. Make sure that the small hole for the cotter pin is properly oriented. Insert the cotter pin and then the wear sensors, routing them properly to the connector.
Once everything is done, pump the brake pedal a couple of times to settle the pads against the rotors, then top up the brake fluid reservoir. Take it easy in the beginning so that the brake pads and rotors can bed in properly. If your brake pads came with instructions for a certain bedding-in procedure, follow them.
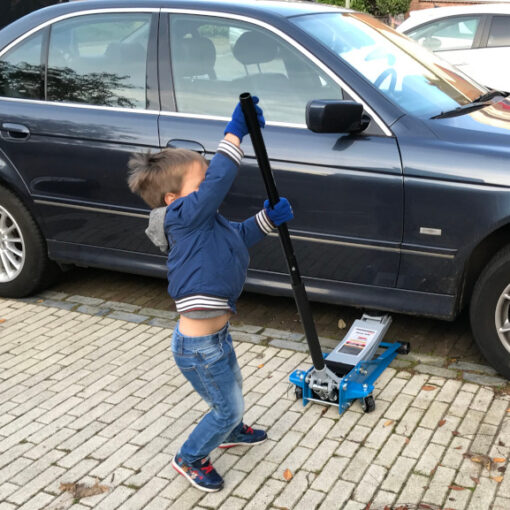
The whole job took me about two hours. It’s quite easy to do in your driveway, and does not require expensive special tools if you already own a torque wrench.
